
Sometimes, when the wall is in poor condition, or you need to wallpaper, a radiator can be a bit of an obstacle. So how do you remove a radiator for decorating?
You won’t need any special plumbing skills when removing a radiator for decorating purposes. With a few simple tools, you can confidently take on the task.
Here’s our guide to getting on with it!
The Tools You Will Need
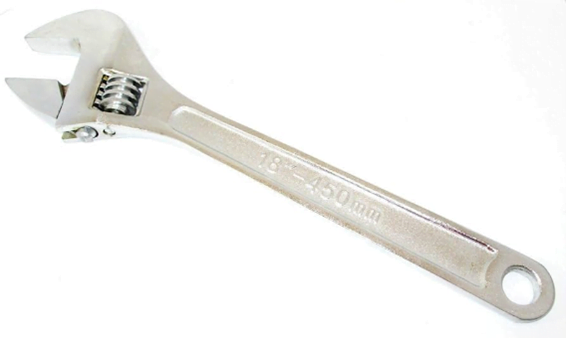
An Adjustable Spanner
Why buy a set of spanners when an adjustable tool can deal with every DIY dilemma? Use an adjustable spanner for turning off the lock valves and for the pipe connections too.
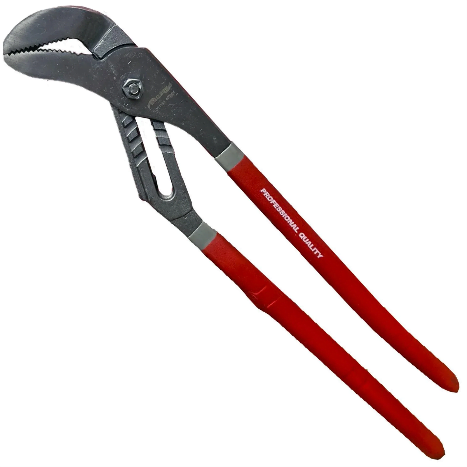
Grips
A good set of grips is essential for taking pressure off the valve connections when disconnecting and reconnecting the radiator to the system.
Bleed Key
In a house run on radiators, a bleed key is a household essential. Pick one up for pennies and put it with your toolkit. Air can sometimes get in the central heating system, and bleeding the radiators will ensure they stay properly topped up with water.

Top Tip:
When bleeding radiators make sure that the release valve point is facing into the room. That way, any water that might spray out won’t make a mess of the newly decorated wall.
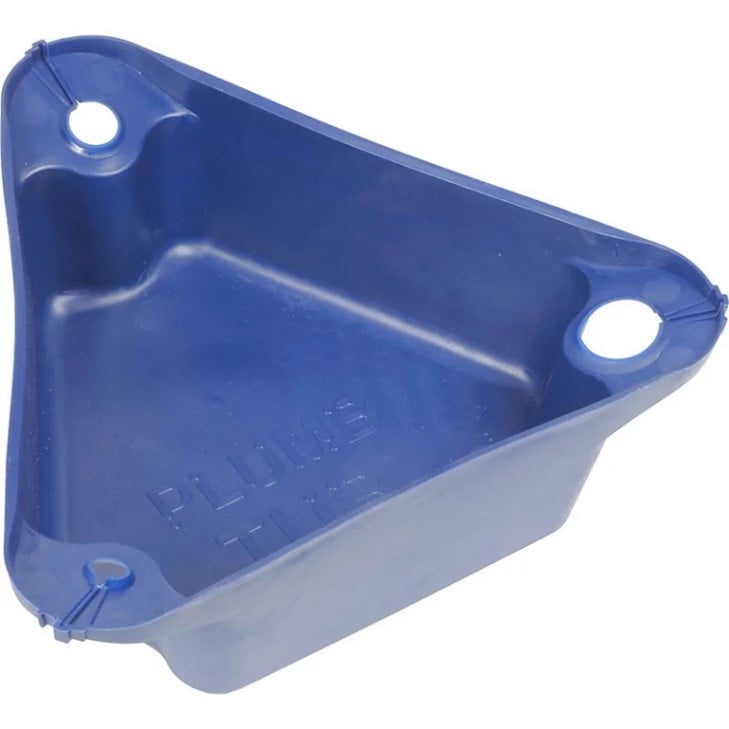
Jug, Plumb-Tub or Roller Tray
You will want to catch the water coming out of the radiator in something that is easy to handle and can get up close to the bottom of the radiator.
A jug works well but might be too tall. A plumb-tub can catch all the drips and could be a good investment if you are going to be taking lots of radiators off and are concerned about making a mess of the floor covering.
Use What You Have
An alternative to either is a decorator’s paint roller tray. It can fit neatly up against the skirting board and is low enough to slide below most radiator installations.
Keep a bucket handy. Nothing that fits under the radiator will be big enough to take all the water that an average-sized radiator holds.
Keep a few rags close at hand too for any leaks or spills. Wrap one around the pipe below the valve to soak up any dribbles.
Top Tip:
If the radiators are staying off for a while pop a half-inch end cap on the valves to prevent damage, dirt, or leaks over time.
How to Remove a Radiator for Decorating
The first step is to turn off the valves.
Start with the one on the right. It is most likely the TRV, or thermostatic valve. Turn it to Zero.
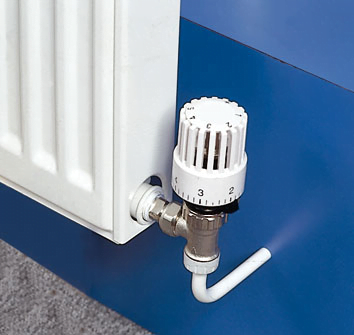
On the left, there will be a lockshield valve. It will likely have a plastic cap fitted on it. Most of the time these simply pull off, but sometimes they are fitted on with a screw.
One Good Turn, or Two?
Underneath the cover, there will be a pin. Turn it clockwise to turn it off. Count how many turns it takes to shut off the valve.
You will need to turn the valve pin the same number of turns anti-clockwise, to get it back to the right setting.
Top Tip:
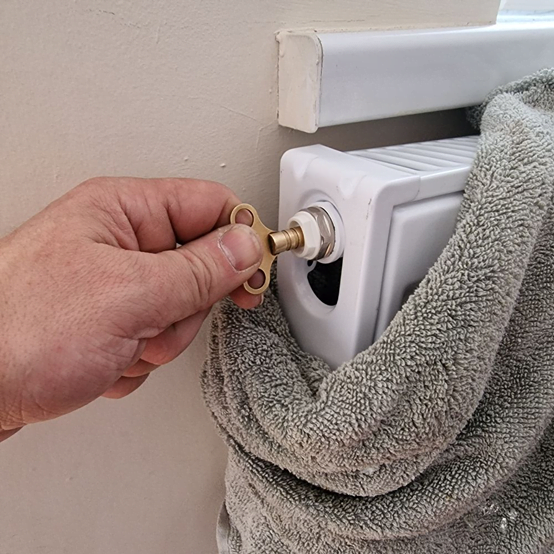
Now the valves are closed, release the pressure in the radiator with the bleed key. If the water doesn’t stop flowing check the valves are both properly off. If the flow continues it is likely there is an issue with one or more of the valves. You may need to replace them.
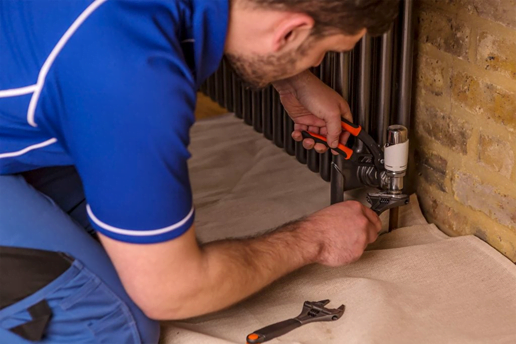
Use the grips to hold onto the valve on the right, then turn the nut connecting the radiator to the valve upward with the adjustable spanner to release it.
Control the Flow
Do this slowly. If you disconnect the radiator now the water will pour out and make a mess.
By opening up the connection slowly you can control the speed at which the water is drained down into the jug or plumb-tub. Nip it closed to stop the flow to empty the water into the bucket.
When the flow has slowed to a dribble open up the bleed valve to let air into the radiator and speed up the release of the last of the water.
Undo the connection next to the TVR completely.
The Endgame
Undo the nut connection to the lockshield valve. Hold the valve with the grips. The nut on this, left-hand, side, will turn down to release.
Gently lift the radiator on the left side to let any remaining water drain out of the right-hand side.
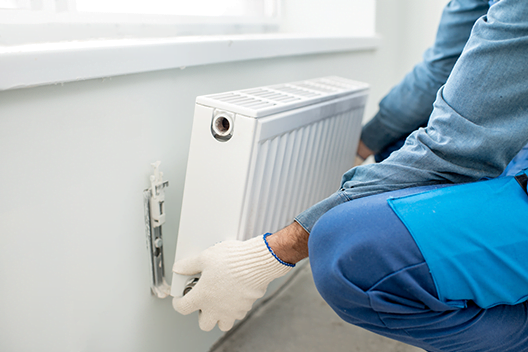
Close the bleed valve, then lift the radiator off the brackets and lay it face down.
Turn it upside-down to prevent any leakage and set it to one side so that you can get on with decorating the wall.
Top Tip:
If your central heating system is pressurized, make a note of the pressure level on the gauge before you begin so you know what level to restore it to when you are done.
Putting the Radiator Back Together
Refitting the radiator is as straightforward as removing it. Slot it back onto the wall brackets, making sure it is securely in place before proceeding.
The valves should line up exactly where they were before you started.
Use a little PTFE Tape or Fernox Jointing Compound on the threads before attaching the radiator to the valves. The nuts should tighten easily. Make sure they have threaded properly by starting them off with your fingers first.
Open up the lockshield valve, turning it the number of turns noted from when you closed it in the first place. Then open up the TRV, thermostatic valve.
Look and Listen for Leaks
You will be able to hear the water entering the radiator. Keep an eye on the joints to make sure they are secure and that there are no leaks.
If all is well, after a few minutes the water noise will stop. Take out the bleed key and open up the bleed vent to let any excess air out.
It will probably make a hissing noise as it escapes. Keep a rag handy to catch any water. When it runs, tighten up the bleed valve, set the thermostat, and you’re good to go.
Top Tip:
If your system is unpressurised, bleeding the radiator is all you need to do to bring the central heating function back to normal. In a pressurized system simply locate the filling loop to bring the pressure back up.