When you’re giving a room a makeover it’s getting the details right that counts, cutting in around doors and windows, and being neat by switches and sockets. But how do you paint behind a radiator?
A radiator may look like a complicated feature to paint around, but with the right tools, and a little bit of patience you can paint behind a radiator with ease. You don’t have to take a radiator off to get colour on the wall.
Here’s our guide to painting behind a radiator.
The Tools You Will Need
A Rad-Roller Set
A long-reach paint roller is not expensive and is terrific for getting into those difficult places where a large paint roller won’t fit.
A One-Inch Brush
A one-inch brush is a standard piece of kit but beware of cheap multipacks. They tend to shed bristles wherever they go!
A Fitch Brush
A fitch is a brush that looks like it would be happier in the hands of an artist. Most of the time there’s no need for this level of detail, but radiators can be hung super-close to walls, skirting, and other features.
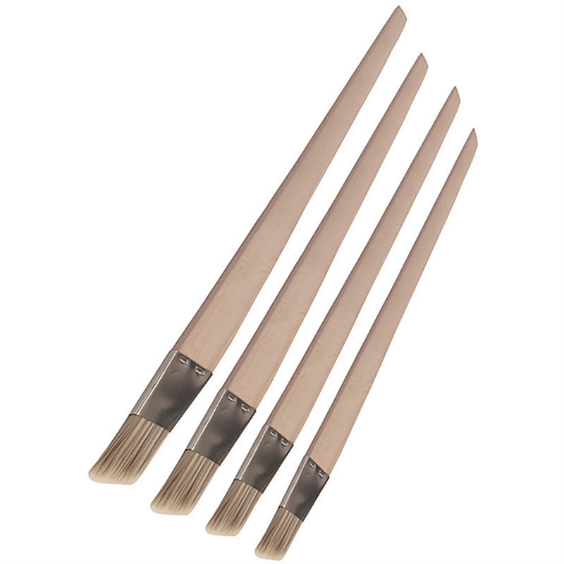
A fitch will get you out of any tight spot!
A Dust Sheet
A dust sheet or drop cloth can be any old sheet, ready for the recycling bin, or purpose-bought polythene. As long as it protects the floor finish from drips and spills.
Preparing to Paint Behind a Radiator
Preparation is the key to success with any decorating project and this is no exception.
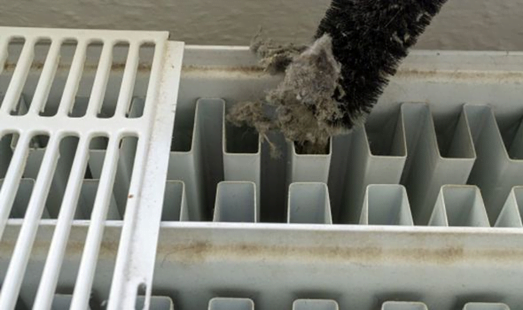
Whether it is a new build or the room has not seen paint in years, the first thing to do is to clean behind the radiator.
If you don’t like spiders give the job to someone who does! You can use a vacuum cleaner, but for best results, a cloth wrapped around the rad-roller, without the roller attached works really well.
Cleaning out between the radiator fins is a good idea. Any dust or fluff disturbed during the work can get stuck in the paint!
If you need to paint behind more than one radiator it’s a good idea to clean all of them up before you start painting.
Remember to turn down, or turn off the heating before you begin painting!
Radiator Access
Finally, check to see if the dry roller will fit behind the radiator. If so, you’re ready to go.
Some radiators are equipped with clip-on covers to the side and a grille to the top. These should come off easily. Set them aside before trying the roller for size.
They give your radiators a sleek, modern look, but they can hold onto dust. You will need to clean the back of the radiator after removing the covers.
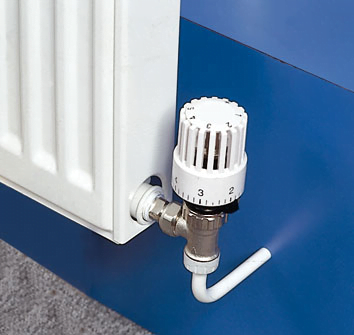
The Thermostat
The thermostat is the big round cone-shape dial on one or other side of the radiator attached to a valve. You don’t want to get paint on this.
The good news is that they simply unscrew. You don’t need to be a plumber, and you won’t get wet taking one off.
Set it aside carefully, and refit when you finish painting.
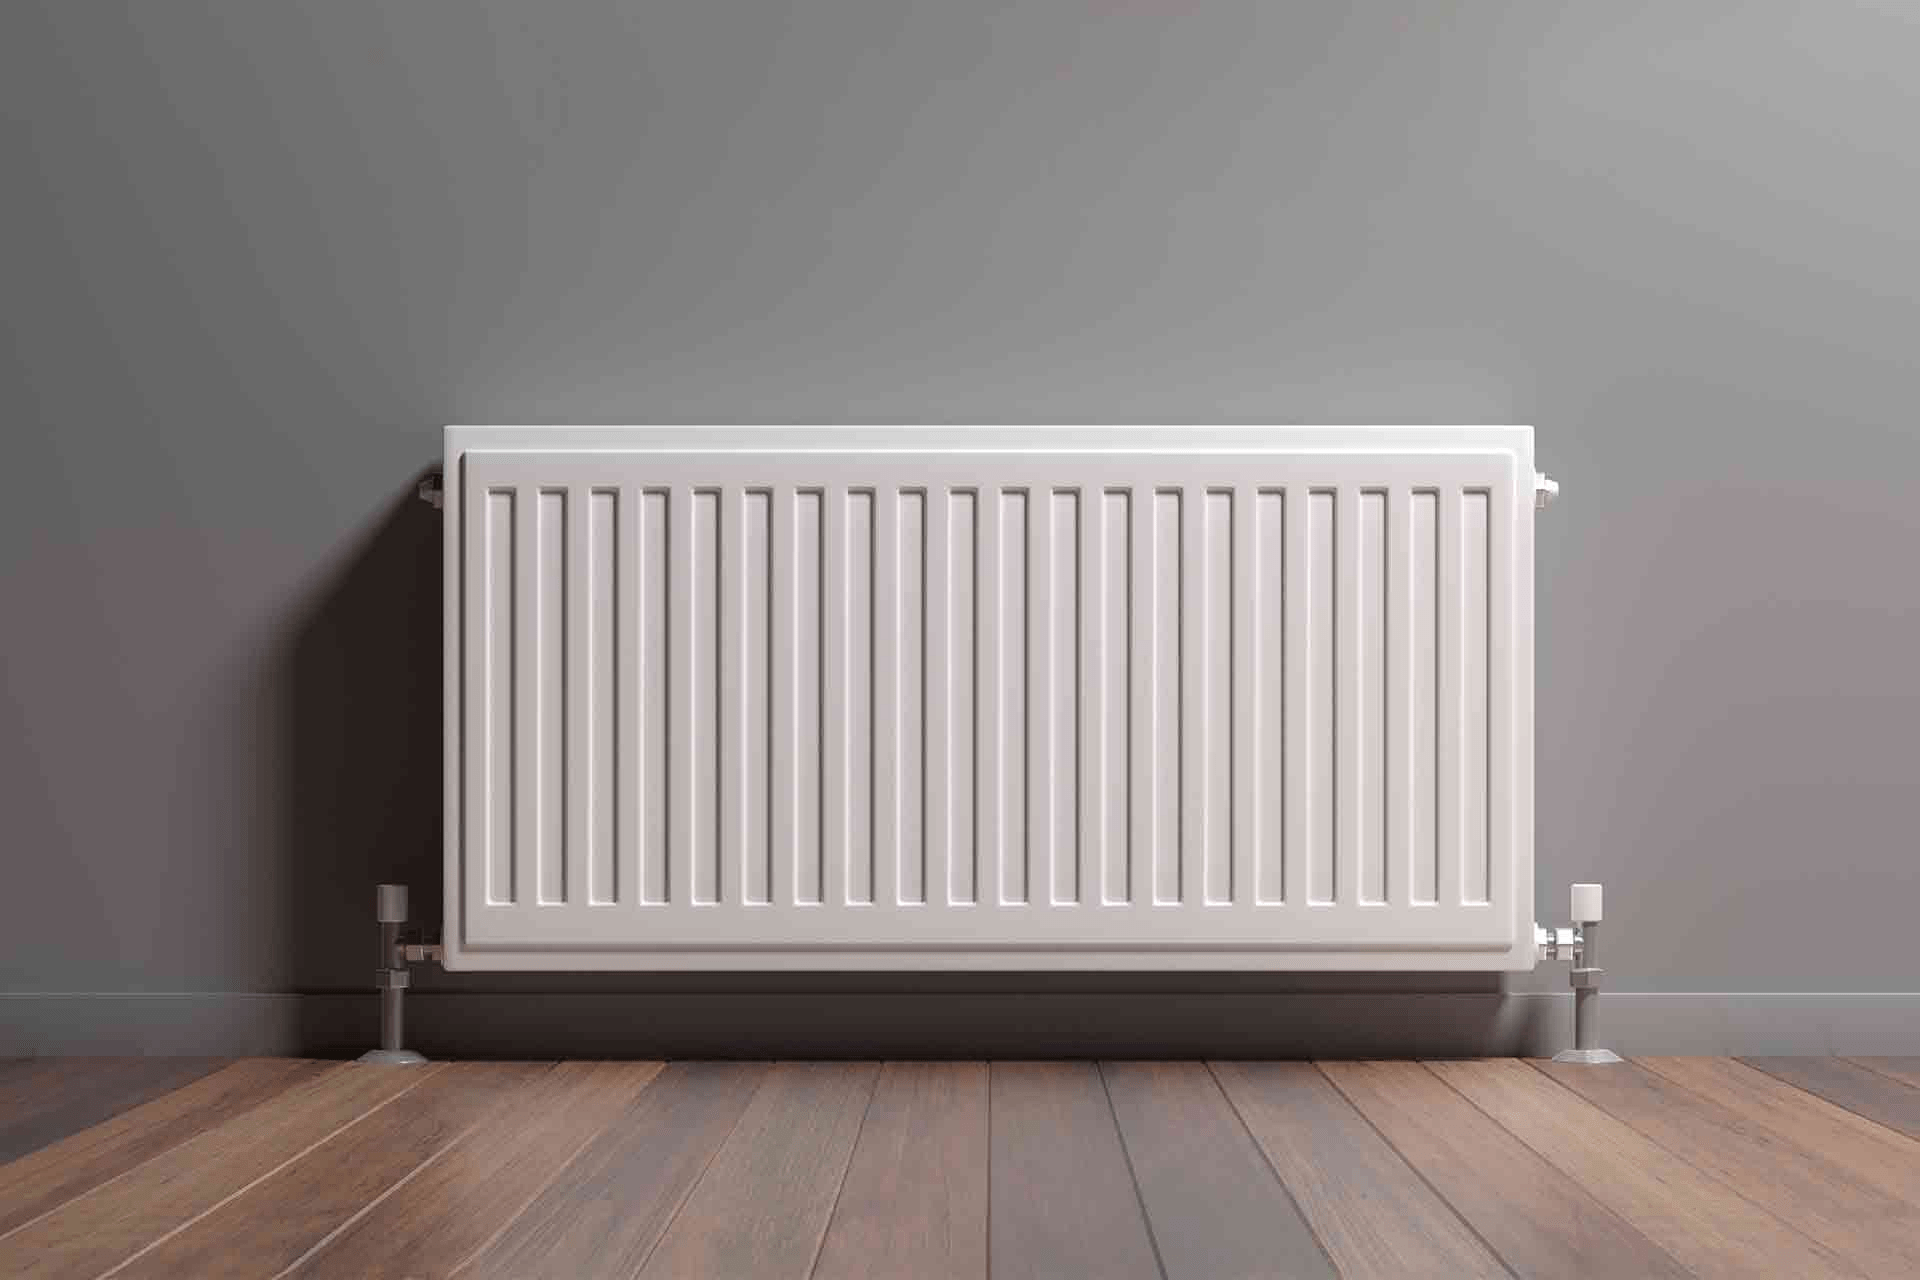
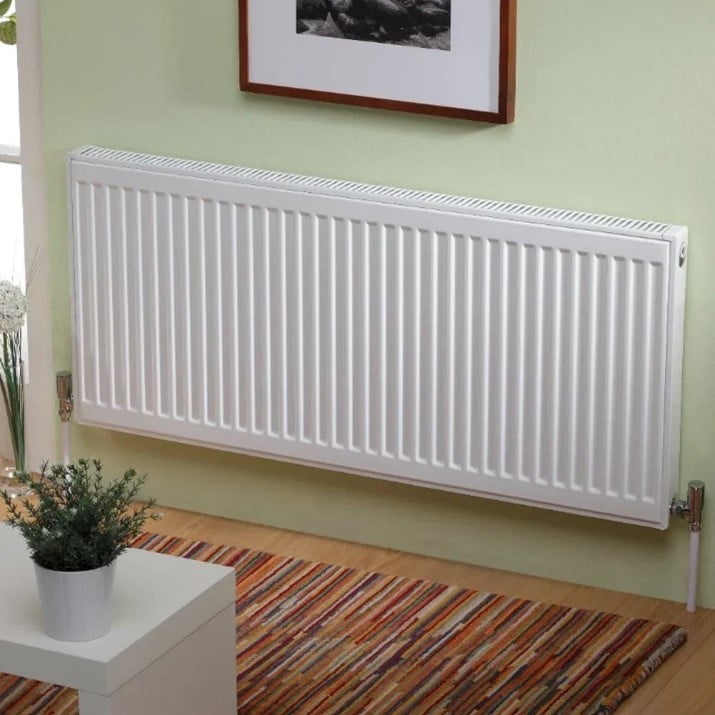
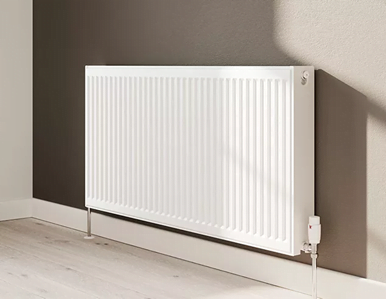
Painting Behind a Standard Radiator
With it clean, the thermostat off, and access sorted, you’re ready to go.
Cut in around the brackets holding the radiator on the wall.
Paint with the one-inch brush up under the windowsill, keeping the line as straight as you can.
Take the brush and paint the wall below the radiator and above the skirting board.
Load up the roller and, with short, sure strokes apply the paint to either side of the radiator.
Watch out for paint runs from the brackets. Sometimes the back of the radiator can catch the roller and send drips down onto the skirting board.
Carefully insert the roller between the windowsill and the top of the radiator and roll as far as possible.
If the radiator is on a wall without a window above it access will be easier.
Let the first coat dry thoroughly. Two coats is the usual standard.
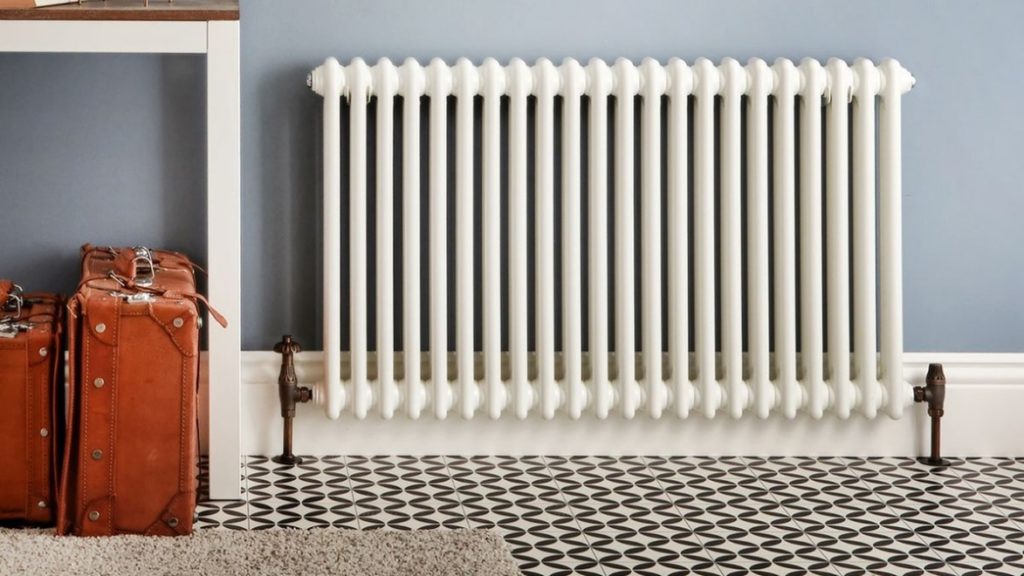
Painting Behind a Cast Iron Radiator
The wall behind a cast iron radiator is more visible than a modern panel type, so preparation before painting is vital to getting a good finish.
A cast iron radiator is tough to remove, and heavy too.
Use your rad roller arm as a sanding device to make sure you get all loose material off the existing wall before painting.
Use a rag to clean off any excess paint that you might get on the radiator as you go.
If the gap between the wall and the radiator is too tight for your roller, then use the fitch brush to paint the wall, passing it through the gaps between the radiator sections.
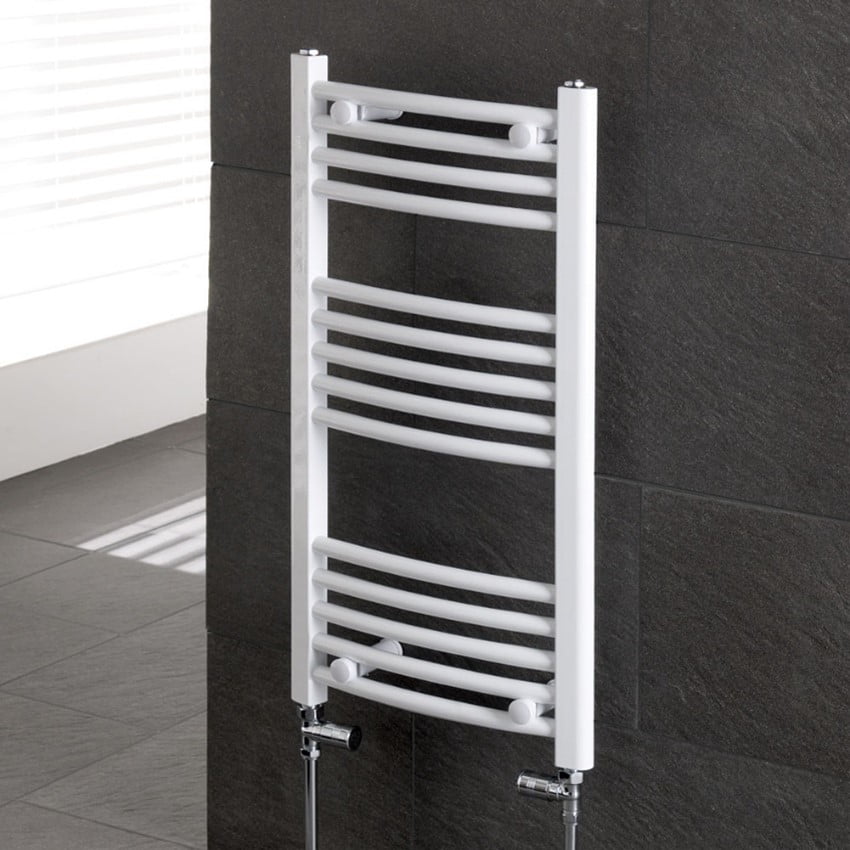
Painting Behind a Heated Towel Radiator
Cut in around the outside of the towel radiator as close as possible.
Carefully paint the wall with the rad roller and get as close to the brackets as you can.
Don’t overload the roller! Too much paint on the roller will mean splashes and overspray on the radiator that you will need to clean off.
Using the fitch brush is essential here. There’s no better way to get up close and personal to all the areas the roller can’t reach!