If you ever felt frustrated while trying to capture interior shots for your blog or Instagram, you are not alone. Shooting inside a space has unique challenges: uneven lighting, cluttered visuals, and angles that make spaces look flat. Documenting a room makeover or sharing everyday living moments should communicate a mood, a lifestyle, and a perspective. Appealing visuals are critical for this task.
In this article, we observe fundamental interior photography tips. You will learn how to handle light, frame a room, and style with intention. Let’s dive in and create scroll-stopping content for your blog or social media page.
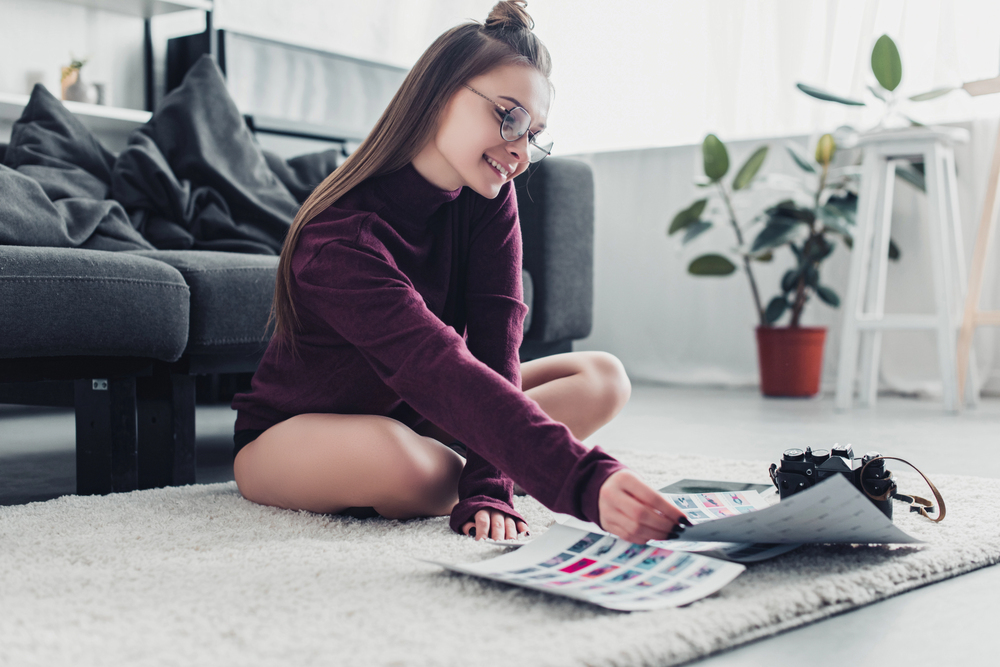
Making the Most of Your Gear
You do not need a professional camera setup to capture great content. Most modern smartphones can produce stunning images if you know how to use them right. Start with cleaning your camera lens. Even a slight smudge can blur your photo and reduce contrast. Next, tap to focus on your subject and swipe the exposure slider up or down. Ensure the picture is neither too light nor too dark.
If shooting handheld, brace your elbows against a stable surface to reduce shake. Even a small and inexpensive tripod keeps your framing steady. It lets you lower the shutter speed without risking blur, especially in low-light situations. Avoid wide-angle lenses. While they can capture more of the room, they often distort the edges. Instead, step back physically to fit more into your frame.
Download the best photo editor for Mac or a mobile app like Luminar Mobile, Pixlr, or Snapseed. These tools can help you fine-tune brightness, straighten lines, and adjust color temperature post-shot. Be cautious and avoid excessive processing. Over-editing ruins the picture’s appeal and distorts perception.
Lighting
Lighting is a cornerstone of every picture. Ambient illumination is every photographer’s best friend, but it is much harder to manipulate. Morning light tends to be soft and cool, while afternoon sun adds warmth and contrast. Take your time to see how these changes affect every room and plan your shooting set accordingly.
Avoid mixing lighting sources unless you are confident in your RAW photo editor and its color correction capabilities. One of the commonly overlooked tips for indoor photography is to turn off every light in the room before you shoot. Overhead bulbs can create unwanted shadows and contrasts. In combination with sunlight, they also introduce unappealing orange tints. If natural light is limited, try using floor lamps with daylight bulbs.
Shooting toward a window can create a nice silhouette, but it may wash out detail if not balanced correctly. Stand beside the window and let the light flow in from the side. If using artificial illumination sources, place them indirectly to mimic the soft glow of a nearby window for extra dimension and highlighted textures.
Angles and Perspectives
Your camera placement can redefine your space’s perception. The right angle can make a room look larger, more inviting, or more intimate. Adjust your camera level to prevent vertical lines’ distortion. To maintain clean, professional-looking compositions, position the camera around chest height. Slightly lower it down for cozy settings like reading nooks or coffee tables.
When capturing the entire room, shoot from the corner to emphasize dimensions. Do not stand in the center of the wall because it can make spaces look flat. A styled console table or a section of shelving can benefit from symmetrical or side angles. They make your images more casual and relatable.
Styling
Aesthetically pleasing and attention-grabbing interior photography is essential, but good looks are not enough to establish a connection with your audience. Your images should convey a particular mood and represent your personality flatteringly.
Start with removing clutter and eliminating everything that does not add to the story you are trying to tell. Clear away cables, excess décor, or stray items that are not contributing to the narrative. However, empty spaces look emotionless and unappealing. A coffee table or a throw draped casually on a sofa will add context and make your visual story more relatable and evocative.
Group objects in odd numbers—three vases of varying heights, for example—and vary materials to create contrast. Books, plants, ceramics, and textiles work well together. They provide subtle color and textural tweaks without stealing the spotlight.
Incorporate props representing your online persona or brand. Use props that reflect your blog or brand identity. If you write about wellness, include a lit candle or open journal in the frame. If your content leans toward minimalism, keep lines sharp and decoration minimal.
Conclusion
Captivating interior shots for your blog require observation, intention, and a few smart techniques. Manipulating the equipment, understanding illumination, choosing angles purposefully, and styling the spaces according to the intended message will result in scroll-worthy visuals that reflect your style and elevate your blog or Instagram presence. Keep shooting, keep refining, and let your space tell a story!