How To Print On Canvas: A Complete Guide
Canvas printing is a great way to liven up your home with your incredible artwork and photos. Now you may think that this is hard to do but the technology has advanced so much over the years anyone can do it these days. Of course professional services may also be the way to go for some folk and these services are capable of providing beautiful canvas prints, but it is also possible to get these results yourself if you are willing to put in a little work. You might think that printing on canvas at home is hard, but it’s actually easier than you think. The tools and methods are better than ever in 2025.
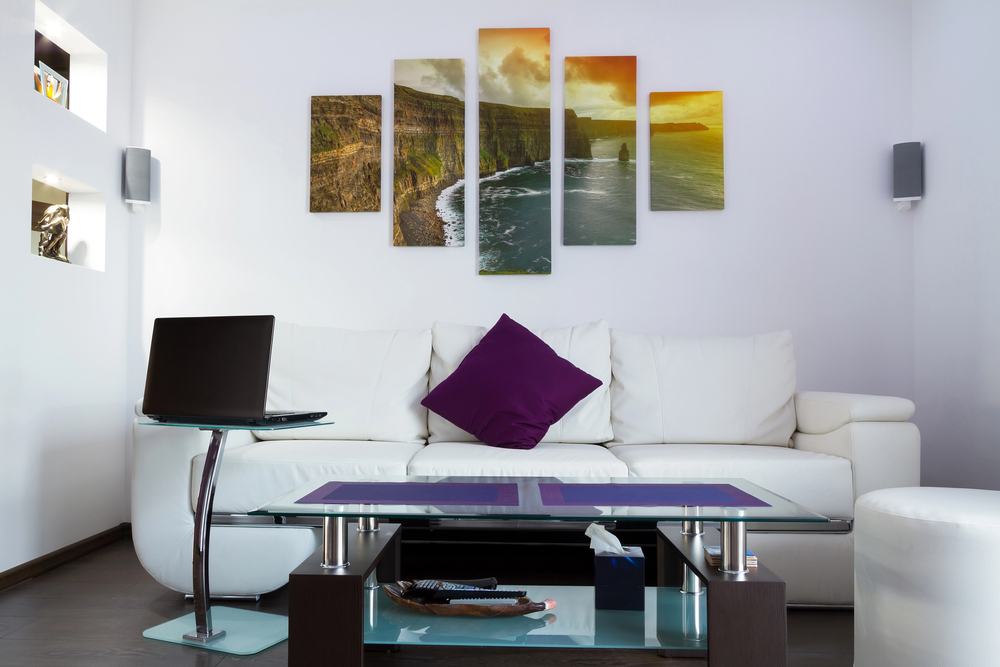
This nifty little guide offers all you need to know if you want to decorate your living room, give someone a one-of-a-kind gift, or just show off your DIY skills. We’ll break down step by step the best methods on how to make canvas prints that have a lot of personality and look great in your home . One thing we love here at hearthome about Canvas printing is the fact they last a long time, can be used in many various ways, and they give your pictures a textured, almost artistic look that shouts “art gallery” without the high price tag.
These prints look great in any room, whether it’s a cosy flat or a stylish office. So let’s begin!
Step 1: Choose the Right Picture
The Right Shot
A stunning shot makes a gorgeous canvas print. The appropriate one creates the mood, whether it’s a picture you took on your last vacation or a computer design you made. Take note of the composition: Look for pictures that have a distinct centre of attention and pieces that are spread out well. People will notice a picture of a stunning sunset or a family occasion that wasn’t planned.
Colour Is Important
Bright, vivid hues or photos with a lot of contrast look good on canvas. Because of the way the surface feels, they’ll stand out and make your print stand out.
Pay attention to the edges
Make sure that important sections of the picture, such faces or other details, aren’t too close to the edges if you want to wrap the photo around the corners of the canvas (more on that later). You don’t want Uncle Bob’s smile to travel too far! You can get free, high-quality photographs on stock image sites like Unsplash and Pexels if you don’t want to use your own. Check the licence to make sure you can move forward.
Step 2: Check to see if the resolution is correct
Size is important
Higher resolution is needed for bigger canvases. A 16×20-inch canvas needs at least 4800×6000 pixels to not look grainy. Use editing software like Photoshop or Canva to check the qualities of your image.
How to Edit Like a Pro
You can tweak the brightness and contrast, resize the image without losing quality, or change the resolution with free apps like GIMP or Photopea. A tiny tweak is all it takes to make your print stand out. If you’re not sure how good your picture is, try zooming in on it. It will seem worse when you print it if it looks pixelated. It’s better to catch it now than later, when you’ve already spent time and money.
Step 3: Choose the Material for the Canvas
It’s important to pick the correct canvas because not all of them are the same. This is what you can do:Cotton canvas: This is the simplest choice for a natural, textured effect. It has a beautiful fine art feel and gives you colours that are rich and deep. It also drinks ink like a dream. Good for paints or delicate, creative pictures.
Polyester canvas
Want prints that are bright and won’t fade? You should use polyester. It lasts a long time, doesn’t get wet, and is great for images or presentations outside that are bright.
A mix of cotton and poly
Not sure what to do? This mix is the best of both worlds: it feels like cotton yet is as sturdy as polyester. For most occupations, it’s a good choice.
Weight and Feel
The weight of canvas is measured in grams per square metre (GSM). It’s easier to work with lighter canvases (200–300 GSM) for smaller prints. For larger pieces, it’s advisable to use thicker canvases (350+ GSM). Texture is also very important. Rough canvases make paintings look more artistic, whereas smooth ones are excellent for detailed pictures.
If you’re printing at home, make sure the canvas will work with your printer. To avoid problems, look for words like “inkjet-ready” or “pre-primed” on the packaging or in the product description.
Step 4: Get Your Picture Ready to Print

Now that you have your photo and canvas, it’s time to make the file ready to print. If you do some work ahead of time, your print will look just the way you want it to.
How to Fix Colours
Adjust the brightness, contrast, and saturation to match the mood you wish to create. Don’t be afraid to make colours brighter because canvas can make them a little less vivid.
Crop Smart
Leave extra canvas on either side of the frame to fold over it if you want a wrapped edge. This is usually 1 to 2 inches. Crop or resize such that nothing important is lost. JPEGs might compress and lose clarity, so save as TIFF or PNG to maintain the most detail.Canva and Pixlr are great free tools for making rapid adjustments if you don’t want to spend money on expensive software. Check everything before you hit print. Believe me, it’s a pain to waste canvas on a terrible picture.
Step 5: Pick a way to print
In 2025, you’ll have a number of amazing options for printing. Pick one that fits your setup and ability level, since each one has its own pros and cons.Inkjet printing: Inkjet technology is used by most home printers, and it works well with canvas as long as the printer can handle thicker materials. Look for inks that use pigments as their foundation. They don’t fade and make colours that are brilliant. This method works really well for pictures or art that have a lot of detail.
How to Move Heat
Don’t you have a good printer? It’s fine. You can print your photo on heat transfer paper with a regular inkjet printer. After that, use an iron or heat press to move it to the canvas. It is easy to use, but it may not last as long. Polyester canvases are great for sublimation printing. It uses heat to bond the ink to the fabric, which generates prints that are incredibly brilliant and endure a long time. You will need a sublimation printer, which might cost a lot of money. UV printing is a professional-level method that uses UV light to quickly dry ink, making prints that won’t fade and are beneficial for the environment. It’s not as common for home installations, but it’s something to consider if you’re using a print shop. Inkjet or heat transfer is the best way for most individuals to accomplish things themselves. Check that your home printer has a back feed tray that can hold the thickness of the canvas.
Step 6: Prepare your printer
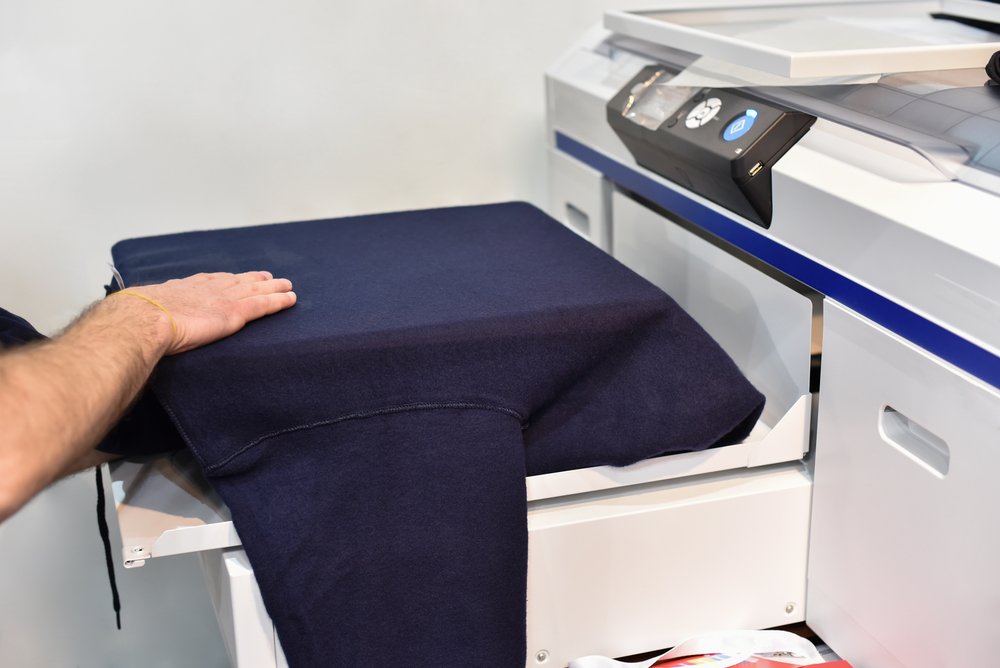
It’s time to get that printer ready! To get a good print, you have to put everything up right.
Check for Compatibility
Check to see whether your printer can print on canvas. Look for a tray that lets you vary the thickness and feeds from the back or by hand.
Add the Canvas: Carefully feed the canvas sheet so that it is straight and flat. If your printer has difficulties using thick paper, tape a piece of regular paper that is 1 inch wide to the edge of the canvas.
Adjust the settings
Set your printer to “high quality” or “photo” mode and choose “canvas” or “thick media” as the paper type. Make sure you choose the proper colour profile if you’re using pigment inks to achieve the right colours.
Give it a shot
Print a little sample on regular paper or a scrap piece of canvas to see if the colours and orientation are right. It’s better to be careful than to be sorry! Keep a tight eye on the printer while it’s operating. If you don’t feed the canvas correctly, it could get stuck or smudged.
Step 7: Print it out and let it dry
Time to hit the print button! This is how to make sure it goes off without a hitch.
Look at everything twice
Check your photo, settings, and the alignment of your canvas one last time. A quick look can help you avoid producing a fuzzy mess.
Don’t rush when you print
For the best results, use the highest quality setting, even if it takes longer. Keep an eye on the process to see if there are any problems, including ink smearing or misfeeds.
Let it dry
For at least 24 hours after printing, keep the canvas in an area where it won’t get dirty. Don’t touch it and keep it out of direct sunlight while it dries so it doesn’t fade. If you’re using heat transfer, be sure to follow the paper’s instructions for ironing or pressing. To protect the transfer paper and the iron from sticking together, put parchment paper between them. After that, let the iron cool all the way down before taking it off.
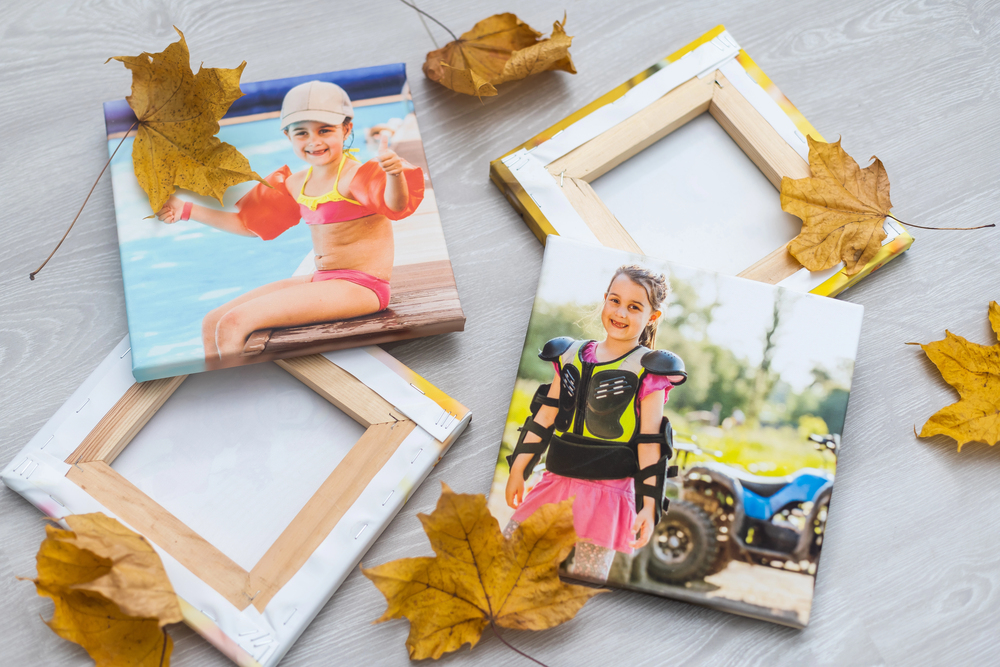
Step 8: Pull and put up your canvas
The fun part is coming up: making your print appear like a true piece of art! When you stretch and mount your canvas, it will seem like it belongs in a gallery.
Choose a style for your wrap
Gallery Wrap
The picture wraps all the way around the frame, giving it a 3D effect. Great for big graphics or patterns.
Museum Wrap
The edges are left blank, usually white or one colour, so the picture on the front stands out. Good for framing or a plain look.
No Wrap
If you want to frame the canvas, leave the edges naked for a modern look.
Make the Frame
Assemble the stretcher bars to build a sturdy frame, making sure the corners are square. You can either buy frames that are already made or make your own with wood bars from a craft store. Put the canvas face down, the frame on top, then pull the canvas firmly to stretch it. Then, from the middle, use a staple to attach it to the frame. Cut off any extra canvas on both sides to keep it even.
(Optional) Put a frame around it
To make your stretched canvas look even better, put it in a floating or traditional frame. Metal frames make things look sleek and modern, while wood frames make things feel cosy. Take your time with this. Stretching it out evenly and tightly will make a great difference in how it appears in the end.
Step 9: Seal and protect your print
Sealing your canvas is important if you want it to look new for years or even decades. It keeps out UV rays, dust, and moisture.Choose a sealant: Pick a varnish that you can either spray on or brush on. People who are new to painting find spray easier, but brush-on allows you to pick the finish (matte, satin, or gloss).
Be careful when you use
Make sure the place where you work gets good air flow. For spray, hold the can 8 to 12 inches away and apply thin, even coats, letting each one dry completely before adding more. To avoid streaks, use a light brush and long, even strokes while brushing on.
First, give it a shot
Check to see if the sealer changes the colours or texture by using it on a small piece of canvas first.
Sealing not only protects your print, but it also makes it easier to clean. On that note…
Step 10: Look after your canvas
Your canvas is ready to shine, but it will look much better if you take care of it.Smart Position: Hang your canvas out of direct sunlight and away from wet places like bathrooms to protect it from fading or warping.
Gently clean
Dust with a microfiber towel that is soft and dry. If you have smudges, use a towel that is slightly damp (no soap) and dry it right away. Don’t use harsh cleaners because they could damage the ink.
Stay safe Long-Term
If you need to store a canvas, roll it up carefully with the print side facing out and put it in a cool, dry place. Don’t put heavy goods on top of each other or fold them. With the correct care, your canvas may last more than 100 years if you used pigment inks and a sealant that protects against UV radiation.
More tips for getting results like a pro
Try Different Sizes: A 16×20-inch canvas is a popular choice because it can be used for a lot of various things. You can also get a big one (24×36 inches) for a statement piece or a small one (8×10 inches) for a snug corner.
Change the feel
The texture of canvas might make your picture look better. A rough canvas makes everything look old-fashioned, while a smooth one keeps details evident.
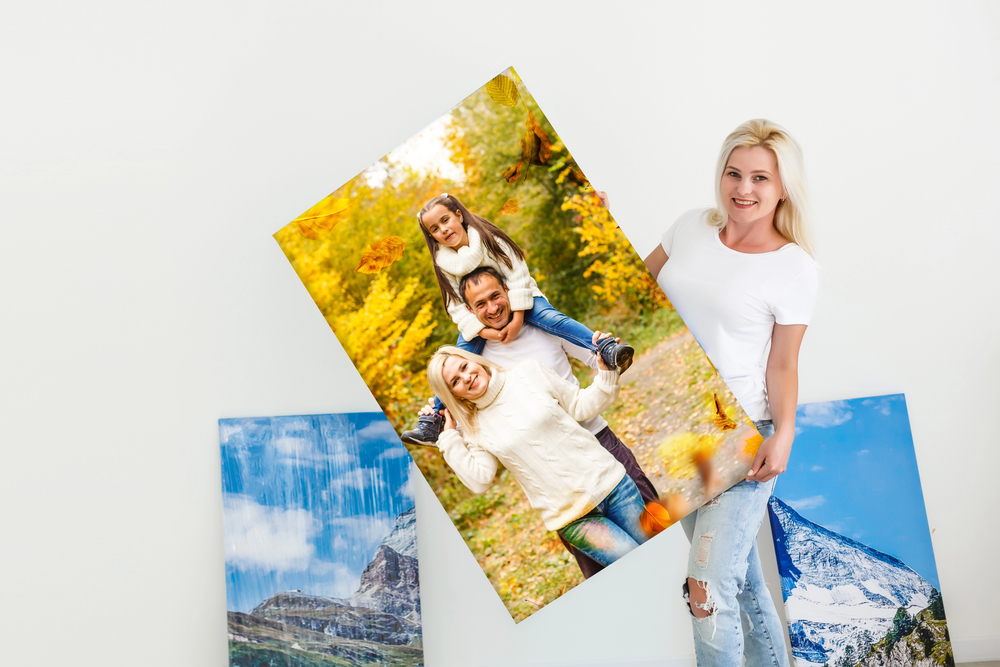
Closing The Gallery
Being able to print on canvas at home in 2025 will be a game changer for everyone who wants to add a personal, artistic touch to their home. Let your imagination flow at every step, from picking the appropriate photo to stretching and sealing your work of art. You can manufacture magnificent wall art that looks just as good as anything in a gallery without ever leaving your house. You only need the right tools, a little planning, and some time. Choose your favourite photo, put on your printer, and get ready to make your walls look like they belong to you